Why Bathroom Ventilation Fails in the First Place
Bathroom ventilation problems almost always trace back to one of three root causes: an undersized fan, bad duct routing, or ductwork that’s collapsed or restricted. Sometimes it’s all three at once. Understanding which one you’re dealing with changes what the fix actually looks like.
The IRC sets a clear minimum standard: a bathroom fan must move at least 50 CFM (cubic feet per minute) on an intermittent basis, or 1 CFM per square foot for any bathroom larger than 50 square feet. That’s a baseline, not a target. A fan rated at 50 CFM in the box often delivers significantly less once it’s fighting against a long duct run, flexible tubing, and a rooftop or soffit cap with resistance. Many homes — especially those built in the 1980s and 1990s — have fans installed that were undersized even when new.
The other issue is that fan ratings are measured under ideal laboratory conditions. Real-world airflow drops when installers use long runs of flexible duct, make sharp bends, or leave the duct slightly kinked in the attic. A fan rated at 80 CFM can perform closer to 40 CFM in practice. That gap is where moisture problems are born.
The Attic Venting Problem Nobody Talks About
Of all the bathroom ventilation problems a contractor can find during a remodel, this one causes the most hidden damage. Some builders — particularly on older homes or during quick renovation jobs — terminate exhaust fan ducts directly into the attic instead of running them all the way to an exterior cap. It seems harmless. The air leaves the bathroom. Problem solved, right?
Wrong. Warm, humid bathroom air pumped into a cold attic creates exactly the conditions mold needs: moisture, organic material (insulation, wood framing), and stagnant air. Over months and years, that moisture saturates insulation and soaks into rafters and sheathing. By the time a homeowner sees evidence of a problem, the attic damage is often extensive. The EPA’s guidance on mold makes clear that controlling moisture is the only reliable way to control mold — and that means getting humid air out of the building envelope entirely, not just out of the bathroom itself.
This is a code violation in virtually every jurisdiction in the country, but it still shows up regularly in homes that were never inspected after the original installation. If you don’t know where your exhaust fan terminates, it’s worth finding out before you assume the ventilation system is doing its job.
Warning Signs You Can Spot Yourself
You don’t need a contractor to tell you your bathroom has a ventilation problem. The signs are usually right in front of you. The challenge is knowing which signs point to a ventilation issue versus something else entirely.
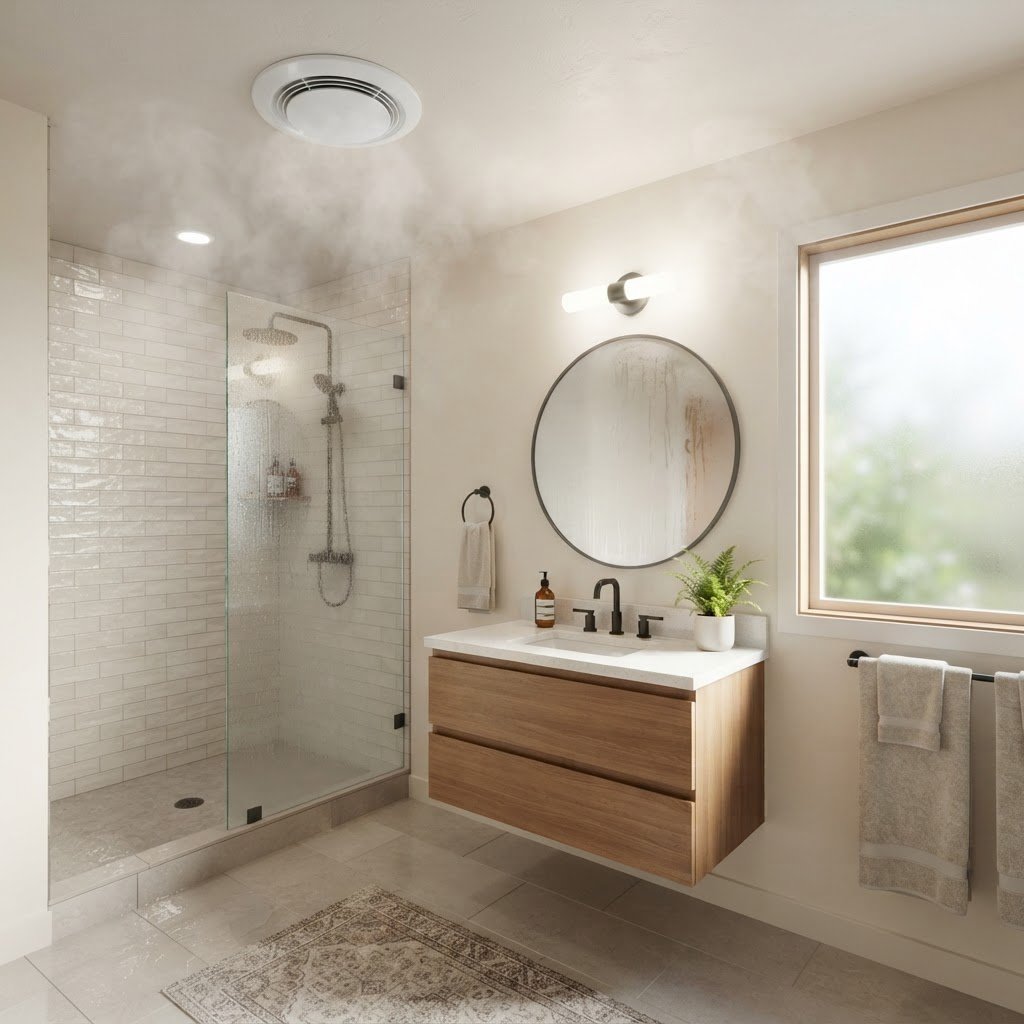
- Persistent mirror fogging: Mirrors fog during showers — that’s normal. A mirror that’s still foggy ten or fifteen minutes after the shower ends means moisture is sitting in the air instead of being exhausted out.
- Musty smell that doesn’t go away: A smell that lingers even after cleaning is almost always biological. Mold and mildew growing behind tile, under caulk, or in wall cavities produce that smell. Ventilation failure is usually the underlying cause.
- Peeling paint or bubbling near the ceiling: Paint peels when moisture gets behind it repeatedly. The ceiling and the top of walls are the first places this shows up because warm, humid air rises. If your paint is bubbling or the ceiling texture is soft, moisture has been accumulating there for a while.
- Visible mold in corners or grout lines: Surface mold in grout is common, but mold in the upper corners of a bathroom — especially near the ceiling — points to chronic moisture buildup from inadequate ventilation, not just poor cleaning habits.
- A fan that runs but doesn’t seem to help: Hold a tissue near the fan grille while it’s running. If the tissue barely moves, the fan isn’t moving meaningful air. Either the fan motor is weak, the grille is clogged, or the ductwork is the problem.
Any one of these signs deserves attention. Multiple signs together usually mean the ventilation system has been failing for long enough that there’s already hidden damage somewhere in the structure.
How Remodeling Addresses the Root Cause
A fan swap is not a remodel. Pulling out the old fan and dropping in a new one with the same bad ductwork attached gets you a quieter fan that still fails at moving air. Real bathroom ventilation problems require fixing the whole system: the fan, the duct, and the termination point.
During a bathroom remodel, the ventilation system gets rebuilt correctly from scratch. That means selecting a fan properly sized for the room — not just meeting the 50 CFM minimum, but accounting for the actual square footage, ceiling height, and duct run length. For most Chicago-area bathrooms, a fan in the 80–110 CFM range with a low sone rating makes sense. Going slightly larger than the minimum gives the system headroom to perform well even as the duct cap and fittings add resistance.
The duct itself matters just as much as the fan. Rigid metal duct — typically 4-inch round galvanized — outperforms flexible duct in every meaningful way. It doesn’t crush, it doesn’t sag, and it doesn’t trap condensation in low spots the way flex duct does. Shorter, straighter runs always move more air than long winding ones, so routing matters. A good remodel plans the duct path intentionally rather than running it wherever the attic happens to make room.
The Right Termination Point
Every bathroom exhaust duct needs to exit the building at a dedicated exterior cap — either through the roof or through an exterior wall. That cap should have a damper that closes when the fan isn’t running, so cold air and pests don’t find their way in. Venting through a soffit is an option in some situations, but it requires care: if the soffit has perforations for attic ventilation nearby, humid exhaust air can get pulled right back into the attic through those vents. A through-wall or roof cap is usually the cleaner solution.
During a full bathroom remodel, the contractor has access to walls and ceiling that aren’t available during a simple fan swap. That makes it practical to re-route a duct that’s currently dumping into the attic and connect it to a proper exterior cap. It’s work that’s difficult to justify as a standalone project but makes complete sense when walls are already open for tile, shower, or layout changes.
Humidity Sensors and Timers Make the System Work
Even a perfectly installed fan fails to do its job if no one runs it long enough. Most bathroom moisture problems aren’t caused by running no fan at all — they’re caused by running the fan only during the shower and shutting it off the moment the water stops. Humidity in the air peaks several minutes after the shower ends as steam dissipates off wet surfaces. Cutting the fan off early means that peak moisture load never gets exhausted.
A humidity-sensing fan solves this automatically. These units measure relative humidity in the room and run until the air returns to a set threshold — usually around 50–60% relative humidity. No timers to set, no relying on habit. The fan handles it. The Department of Energy’s Building America Solution Center recommends running bath fans for at least 20 minutes after a shower ends; a humidity sensor accomplishes this without any manual input from the homeowner.
A countdown timer switch is a lower-cost alternative. You set it for 20 or 30 minutes when you start the shower, and it cuts off automatically. Either option — humidity sensor or timer — is a significant upgrade over a standard on/off switch that depends on someone remembering to run the fan long enough.
What a Proper Ventilation Upgrade Looks Like in a Full Remodel
When Direct Remodeling handles a bathroom remodel in Arlington Heights or anywhere across the Chicago suburbs, ventilation is part of the scope from day one — not an afterthought. That means assessing the existing fan and ductwork before any tile comes off the wall, identifying where the duct currently terminates, and designing the new system around the actual room dimensions and ceiling height.
The new fan gets positioned correctly — near the shower or tub, where moisture is heaviest, rather than centered in the room by default. Rigid duct gets run as directly as possible to an exterior cap. The switch gets upgraded to a humidity sensor or timer. When the bathroom is put back together, the ventilation system actually keeps up with the room instead of slowly losing ground against it.
This isn’t complicated work, but it requires planning and access that a standalone service call rarely provides. A remodel is the opportunity to get it right in a way that lasts.
Bathroom ventilation problems are fixable, but only if the fix addresses the actual cause. Swapping a fan without fixing the ductwork, or fixing the ductwork without checking where it terminates, leaves the underlying issue in place. The damage moisture causes — to insulation, framing, tile, grout, and paint — accumulates quietly over years. By the time it’s obvious, the scope of the problem is usually larger than it would have been with an earlier intervention.The warning signs are worth taking seriously: persistent fogging, musty odors, peeling paint, visible mold. Any one of those tells you moisture is winning. A bathroom remodel gives you the opportunity to fix the fan, the duct, and the controls all at once, while the walls are already open and the work makes sense to do properly.If you’re already planning a bathroom update — new tile, a shower replacement, a layout change — make ventilation part of the conversation from the start. It’s the kind of detail that doesn’t show in photos but makes the difference between a bathroom that stays clean and dry for twenty years and one that’s showing mold problems again in three.